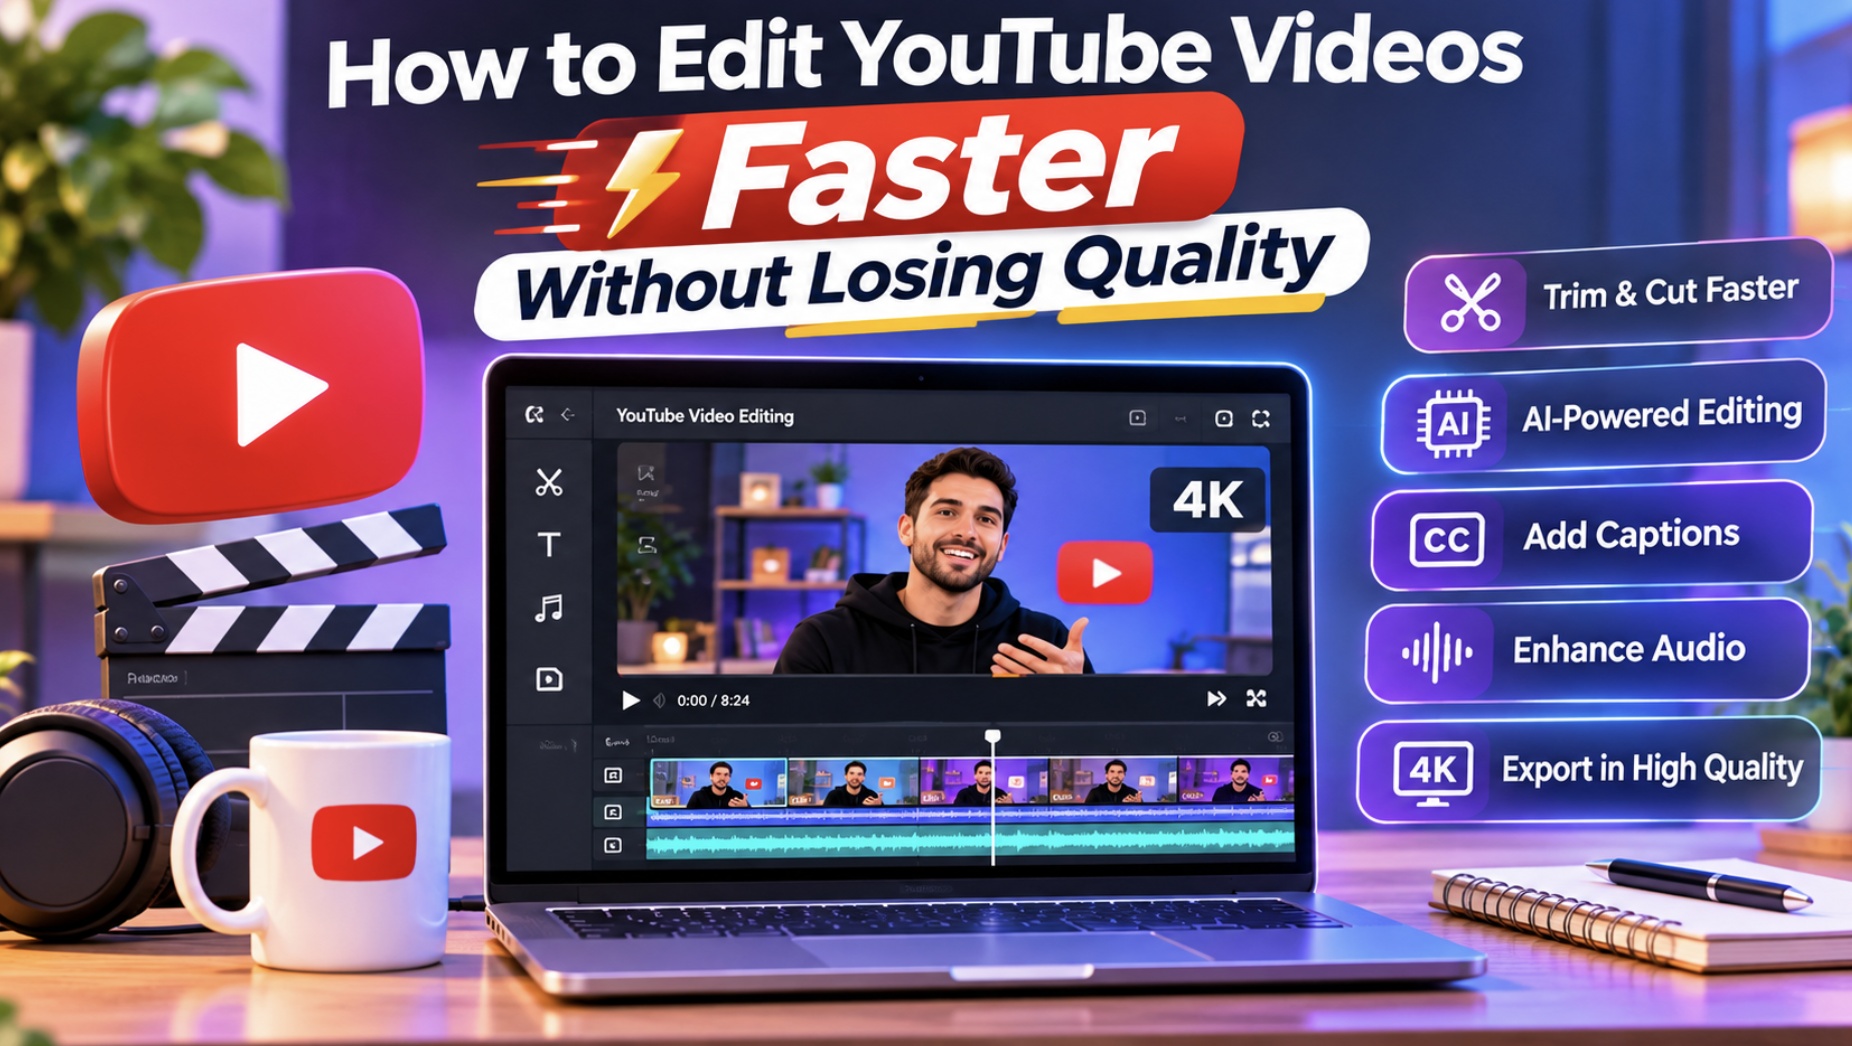
How to Edit YouTube Videos Faster Without Losing Quality
Creating YouTube videos involves more than recording footage. Creators need to review clips, remove mistakes, improve audio, add captions, and prepare the final video for publishing. These steps can take hours, especially when working with long recordings or producing several videos each week.
However, editing faster does not have to mean sacrificing quality. An organized workflow and the right editing tools can reduce repetitive work while keeping videos clear and engaging.
AI-assisted video editing is also making production easier. From organizing footage to preparing rough cuts, modern editing tools help creators spend less time on routine tasks and more time improving their content.
Why Does YouTube Video Editing Take So Much Time?
Video editing takes time because creators must make several decisions before publishing. They need to identify useful footage, arrange scenes, remove unnecessary sections, and make sure the video follows a clear structure.
Long interviews, tutorials, and product demonstrations often contain repeated sentences, awkward pauses, and unwanted clips. Finding and removing these sections manually can slow down production.
A structured editing process helps creators complete these tasks without constantly reviewing the same footage or making unnecessary adjustments.
7 Ways to Edit YouTube Videos Faster Without Losing Quality
1. Organize Your Footage Before Editing
Start by keeping recordings, B-roll, graphics, voiceovers, and music in separate folders.
Use clear file names and review the footage before importing everything into your editing timeline. Identify the strongest takes and remove files that are unlikely to be needed.
This preparation makes it easier to find clips and reduces confusion during editing.
2. Build a Rough Cut First
A rough cut establishes the basic structure of a video before detailed editing begins.
Arrange the main footage, remove obvious mistakes, and shorten unnecessary pauses. Focus on making the content flow naturally from one section to another.
Avoid adding complicated transitions or animations at this stage. Once the structure works, improving the visuals becomes much easier.
3. Use AI to Reduce Repetitive Editing
AI editing tools can help creators organize recordings, identify useful moments, remove filler words, and generate captions.
Some editors also allow users to describe the changes they want, with AI agents carrying out supported editing tasks on the timeline.
Digital Success discusses this development in its article about AI agents in video editing and content creation, explaining how automation can support editing workflows.
AI can save time during production, but reviewing the results remains important for maintaining quality.
4. Keep Transitions and Effects Simple
Adding too many transitions can make a video distracting and increase editing time.
Simple cuts are often enough for tutorials, interviews, educational videos, and product reviews.
Use animations and effects when they improve storytelling or explain information. Reusable title styles and caption designs can also help creators maintain consistency across videos.
5. Improve Audio Before Finalizing Visuals
Clear audio is important because viewers need to understand the message without distractions.
Reduce background noise, balance dialogue levels, and keep music from overpowering the speaker.
Check audio throughout the video, especially when combining recordings from different locations or microphones.
6. Add Captions and Supporting Visuals
Captions make spoken content easier to follow and help viewers watching without sound.
Automatic caption tools can reduce manual transcription, although creators should check names, punctuation, and technical terms.
Add screenshots, B-roll, and graphics where they help explain the topic. Avoid filling the video with unnecessary visuals.
7. Export With Suitable Quality Settings
Export settings affect the appearance and file size of the final video.
Choose a resolution and frame rate that match your original footage. Use a suitable bitrate to preserve detail without creating unnecessarily large files.
Review the exported video before uploading it to YouTube to catch missing captions, audio problems, or visual errors.
Best Tools for Faster YouTube Video Editing
Several video editing platforms offer features that make YouTube production more manageable. The following tools support different editing needs.
1. Invideo Editor
Invideo Editor combines a professional multitrack timeline with AI agents that help creators manage different stages of video production. Its YouTube Video Editor allows users to trim footage, arrange clips, improve sound, add captions, and refine visuals within a single workspace.
One of its useful features is AI-assisted footage organization. AI agents can analyze recordings by dialogue, actors, props, and camera angles, making it easier to locate specific moments. They can also remove filler words, silent sections, and unwanted takes while preparing an initial rough cut.
Creators can trim clips manually or remove spoken sentences through transcript-based editing. AI can help synchronize cuts with music or follow the pacing and structure of a reference edit.
For more detailed work, invideo provides keyframe controls for movement, zoom, position, rotation, and opacity. Its editing tools also include transitions, dynamic captions, background replacement, stabilization, speed adjustments, and color grading with wheels, curves, and LUTs.
Audio can be managed through separate tracks for dialogue, music, and effects, with mixing and loudness controls. Users can also connect external AI agents to perform supported edits directly on the timeline.
The platform supports real-time team editing, shared review links, and comments at specific video moments. Projects remain synced across devices.
Creators can prepare vertical Shorts, add YouTube chapter markers, and export videos between 720p and 4K with frame-rate and bitrate controls. The landing page also lists free 1080p exports without a watermark and options to continue editing projects in Premiere Pro, Final Cut Pro, or DaVinci Resolve.
These features make invideo a strong choice for creators who want AI assistance alongside detailed editing controls.
2. Descript
Descript is an AI-powered video and audio editor that focuses on transcript-based editing. It allows creators to make changes to recordings by editing the written transcript instead of manually locating every section on a timeline.
After importing footage, the platform generates a transcript that users can review and adjust. Removing sentences from the transcript also removes the corresponding parts of the recording.
Descript includes tools for removing filler words, improving voice clarity, and correcting certain recording problems. Its Studio Sound feature reduces unwanted noise and enhances spoken audio.
The platform also provides an AI assistant called Underlord, which can help with script development, editing suggestions, and video production tasks.
Creators can add captions, layouts, transitions, and supporting visuals. Descript also supports AI-generated B-roll, screen recording, and tools for adapting longer recordings into shorter clips.
Features such as eye-contact correction, background replacement, and automatic multicamera editing can be useful for tutorials and interviews.
Descript is particularly suitable for YouTube creators who regularly produce podcasts, educational videos, interviews, and other content centered on spoken dialogue.
3. CapCut
CapCut is a video editing platform that combines timeline editing with AI-assisted features. It helps creators trim footage, arrange clips, add effects, and prepare videos for YouTube and other social platforms.
Users can combine video clips, images, text, and audio while adjusting individual elements on the timeline.
CapCut offers automatic captions, speech-to-text, text-to-speech, and voice enhancement tools. It also includes background noise removal and background removal features.
Creators can add music, sound effects, transitions, filters, and text overlays to make videos more engaging. Templates and reusable visual styles can help simplify recurring projects.
Its AI features also support creating and refining video content, while EditPilot allows users to guide certain editing tasks through instructions.
CapCut provides cloud storage and collaboration features, making it easier to manage media and work on projects across supported devices.
For creators producing YouTube Shorts, promotional clips, tutorials, or social media videos, CapCut offers an accessible set of editing and design tools.
How to Build a Faster YouTube Editing Workflow
A repeatable process can make video editing more efficient.
- Plan the recording: Prepare a script or outline and identify the footage you need.
- Organize your media: Keep recordings, music, B-roll, and graphics easy to find.
- Prepare the rough cut: Arrange the best takes and remove unnecessary sections.
- Polish the video: Adjust audio, captions, colors, transitions, and supporting visuals.
- Review and export: Check the finished video before uploading it to YouTube.
This workflow is also helpful for businesses creating product demonstrations, tutorials, and marketing videos. Digital Success covers similar opportunities in its article about AI video creation for small businesses.
Common Mistakes That Slow Down YouTube Editing
Even with modern editing tools, certain habits can increase production time.
- Adding effects too early: Complete the rough cut before detailed visual adjustments.
- Ignoring file organization: Keep important clips and project materials easy to locate.
- Overusing transitions: Choose effects that support the content.
- Skipping audio checks: Review dialogue and background music before publishing.
- Relying entirely on AI: Check automated edits for accuracy, timing, and quality.
Avoiding these mistakes helps creators maintain a smoother editing process.
Conclusion
Editing YouTube videos faster starts with better planning, organized footage, and a clear production workflow. Building rough cuts, improving audio, simplifying effects, and choosing suitable export settings can save time without lowering quality.
AI-assisted tools such as invideo, Descript, and CapCut make this process easier by reducing repetitive tasks and supporting different editing styles.
Combining these tools with human creativity and careful review helps creators produce consistent, engaging videos.
Frequently Asked Questions
1. How can beginners edit YouTube videos faster?
Beginners can save time by organizing footage, preparing rough cuts before adding effects, using automatic captions, and following a consistent editing workflow.
2. Can AI automatically edit YouTube videos?
Yes. AI tools can assist with selecting clips, removing pauses, preparing rough cuts, and generating captions. However, creators should review the results before publishing.
3. What is the best resolution for YouTube videos?
1080p is suitable for many YouTube videos, while 4K can provide additional detail when the source footage supports it. Export settings should match the original recording and intended viewing experience.
4. Can I turn long YouTube videos into Shorts?
Yes. Many video editors allow creators to select moments from longer recordings, change the aspect ratio to vertical, add captions, and export shorter clips for YouTube Shorts.